FEWS Tools for QGIS is updated regularly to fix bugs, improve performance, and refine workflows. This installation guide explains how to install the plugin for the first time and how to upgrade an existing installation to the latest release. If you’re new to FEWS Tools, follow the instructions for first time installation. If you already have the plugin, skip to the upgrade section.
A video tutorial on installing the plugin is also available at the bottom of the page.
System requirements
-
Microsoft Windows Operating System (10 or newer versions)
-
QGIS 3.34.3 or newer versions
Download FEWS tools plugin (all users)
Download the latest version of the plugin.
Install the FEWS tools plugin (new and current users)
First time installation (new users)
-
Open QGIS.
-
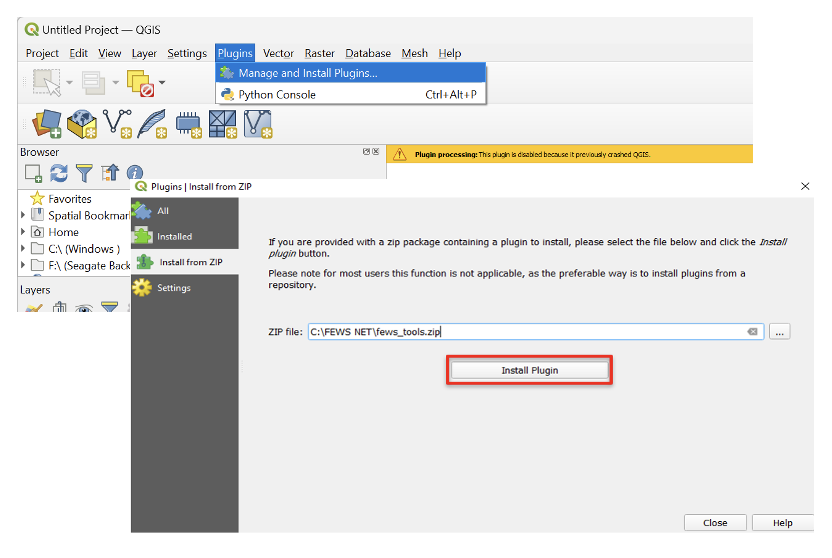
Go to the Plugins menu.
-
Select Manage and Install Plugins.
-
Select Install from ZIP.
-
Browse and select the fews_tools.zip file that you just downloaded.
-
Click on Install Plugin and follow the instructions.
-
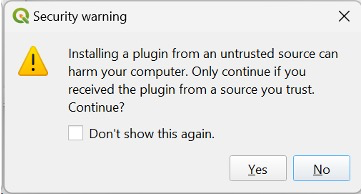
Click Yes to accept all warnings and prompts that follow. .
-
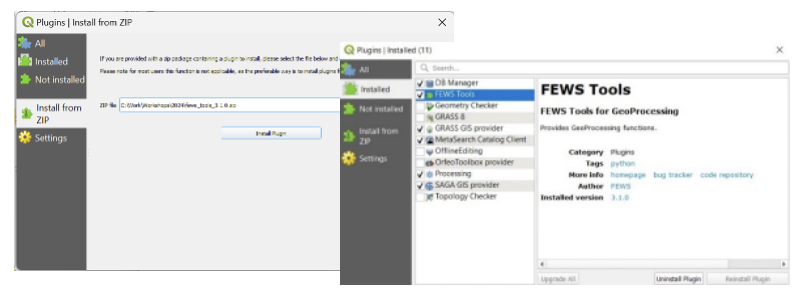
In QGIS, navigate to the Plugins menu and ensure there's a checkmark next to FEWS Tools to activate the plugin.
-
In some cases, it is necessary to restart QGIS. Once the plugin is installed, the FEWS Tools pull-down menu appears on the QGIS main bar.

-
Click on the FEWS Tools menu.
-
Select GeoCLIM/GeoCLIM Tools or GeoWRSI to activate the tool bars. Once the GeoCLIM tools are activated, a menu bar will appear with several selections as shown below.

At this point the tool is ready to use. Continue on to FEWS Tools Settings.
How to move the workspace
By default the FEWS Tools plugin is installed in C:\Users\[user]\Documents\fews_tools_WS. You may want to move the default folder to another drive to get more disk space or for other reasons.
To move the workspace:
-
Click Workplace Setting (yellow folder icon as seen in the GeoCLIM toolbar).
-
Browse to select a folder for the new workspace location.
-
Click Ok and click Yes to confirm.
You don’t need to pre-create the fews_tools_WS folder. Simply select the destination drive (or parent folder) and FEWS Tools will automatically create fews_tools_WS there and set it as the workspace.
Upgrade (current users)
If you have an older version of the FEWS Tools plugin, you can install a new version while preserving your datasets, regions, and preferences.
Please keep in mind when installing an update that all the datasets and region definitions that you have created are saved on the database file fews_tools.sqlite, in the fews_tools directory in C:\Users\[name]\AppData\Roaming\QGIS\QGIS3\profiles\default\python\plugins\fews_tools (see below).
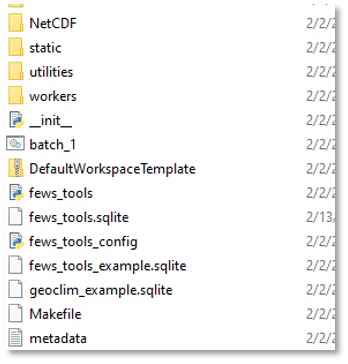
Before installing a new version of the plugin. Make a copy of the fews_tools.sqlite file in a separate directory. To install the new version, follow the steps below:
NOTE: Make sure to backup frequently the database file fews_tools.sqlite which contains all the changes in settings that you have made to customize the plugin, including the datasets, regions, path to new workspace, etc.
-
Uninstall the plugin
-
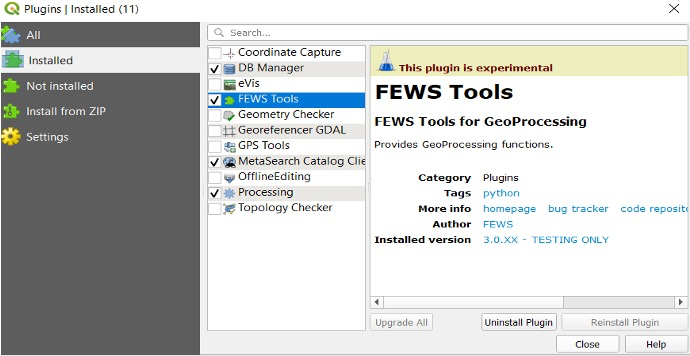
From the main QGIS toolbar, navigate to Plugins > Manage and Install Plugins.
-
Select FEWS Tools.
-
Select Uninstall Plugin.
-
-
Install the new version of the plugin as described in the above instructions for new users.
-
Replace the default fewstools.sqlite file in C:\Users\[name]\AppData\Roaming\QGIS\QGIS3\profiles\default\python\plugins\fews_tools with the one saved from the previous version.
-
Restart QGIS
NOTE: If you had already moved the workspace from the default to a new directory, before installing the new version, the path is corrected by replacing the fews_tools.sqlite file.
Frequently asked questions
Problem: The FEWS Tools menu doesn’t appear.
If the FEWS Tools option doesn’t appear in the main QGIS toolbar, try the following:
-
Under Plugins > Manage and Install Plugins, ensure FEWS Tools is checked.
-
Restart QGIS. If the issue persists, uninstall and reinstall from the ZIP file.
Problem: Permission error during install.
If you receive a permission error during installation, try the following:
-
Close QGIS and reopen it “As Administrator.”
-
Ask IT for write permissions to your QGIS profile.
Problem: Plugin installed but my datasets/regions are missing.
If your datasets/regions are missing after installation, try the following:
-
Verify you copied your backup fewstools.sqlite to the correct path (see instructions above).
Video tutorial: Installation of the FEWS Tools plugin
(12:13, includes closed captions and transcript)