All general section content, including body text, most headings, and tables, is added using a Section Content block. To add section content, select the Add Section Content block.
The Food Security Outlook (FSO) includes standardized explainer text under certain Section Titles. This text should be copied and pasted into the corresponding Section Content blocks. For more information, refer to the additional guidance.
Formatting section content
-
Follow the copy/paste instructions and begin to copy the text under the section title.
-
Reference endnote instructions, if applicable.
-
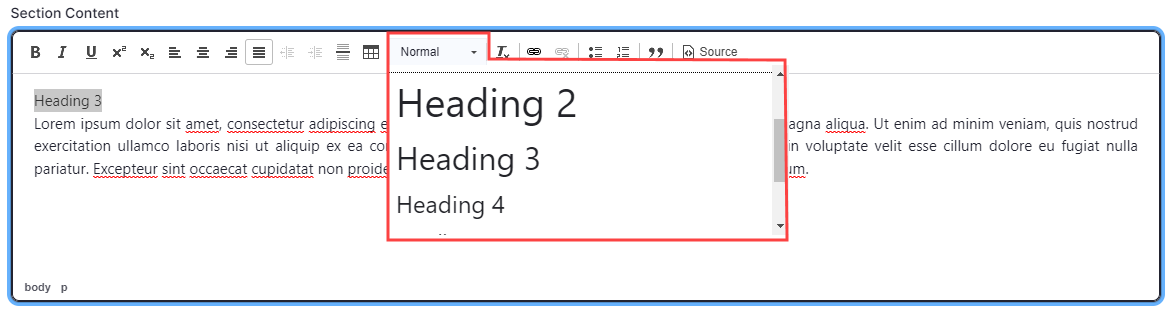
First-level subtitles that are under a Section Title content block (e.g., Current Situation, Assumptions, etc.) should be styled with Heading 3.
-
The heading style will be carried over from the Word document. If you need to change the style, click anywhere on the subtitle, click the Paragraph Format button in the ribbon, and select Heading 3 from the drop-down menu.
-
Additional subtitles should be styled with Heading 4, H5, H6, and so on.
-
Heading titles within section content must be set in numerical order starting with Heading 3 to ensure accessibility compliance.
-
-
Within the new brand, italics should not be used as emphasis. They can be used in the citation at the end of the report or to highlight non-English words used in an English report (e.g., gu).
-
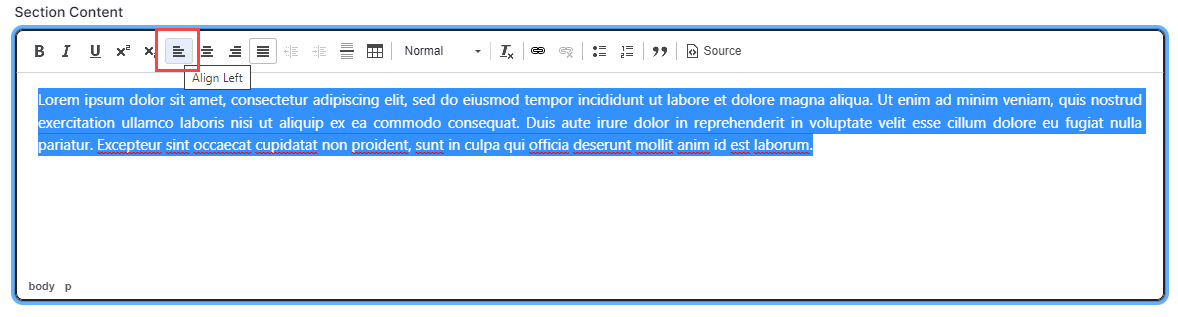
Make sure that all text is left aligned and not justified. You can change the alignment by selecting text and then clicking the Align Left button.
Show full width in PDF: This setting can be applied to text in order to change the formatting in the PDF. Turning this option on ensures that text is full width and does not flow around images. This setting will usually be turned off, but can be useful when you have two images side by side.
Text formatting
Formatted text is available in a dropdown in Section Content blocks and should be used as follows:
-
Normal: Use for all body text.
-
Heading 1: You should never have to choose Heading 1. It is automatically used for all page/report titles.
-
Heading 2: You should never have to choose Heading 2. Key Messages and Section Titles automatically use Heading 2. All Heading 2 uses will be listed in the left hand navigation in a report.
-
Heading 3: You should choose Heading 3 for the first level of subheadings that come under a Section Title.
-
Heading 4 and below: Continue to nest headings in order.
For accessibility purposes, headings must be nested in order. For example, do not skip from a Heading 3 to a Heading 5. There will need to be a Heading 4 level in between those.
Tables
To format tables, use the following process:
-
Copy your entire table into a Section Content block.
-
Set table properties as follows:
-
Click anywhere on the table to access the Table menu.

The Table menu. This menu contains Column, Row, and Cell submenus, as well as a Caption button. -
Click on the Row menu and toggle Header Row switch to On.
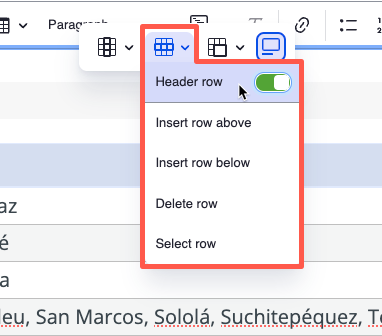
A view of the Header Row menu with the Header row toggle turned on. -
Click on the Caption icon to turn on the caption. This will be used for the table title. Copy the table title into the caption field (e.g., Possible events over the next eight months that could change the most-likely scenario).
DO NOT add the table number (e.g., Table 1.) as this will be automatically added by the system.
The Table menu with the caption turned on.
-
-
If citing a source for the table, type the source in normal body text directly after the table. Do not hit enter or add any additional spaces.
Sources should no longer be in italics; text should be normal style.
Table style options
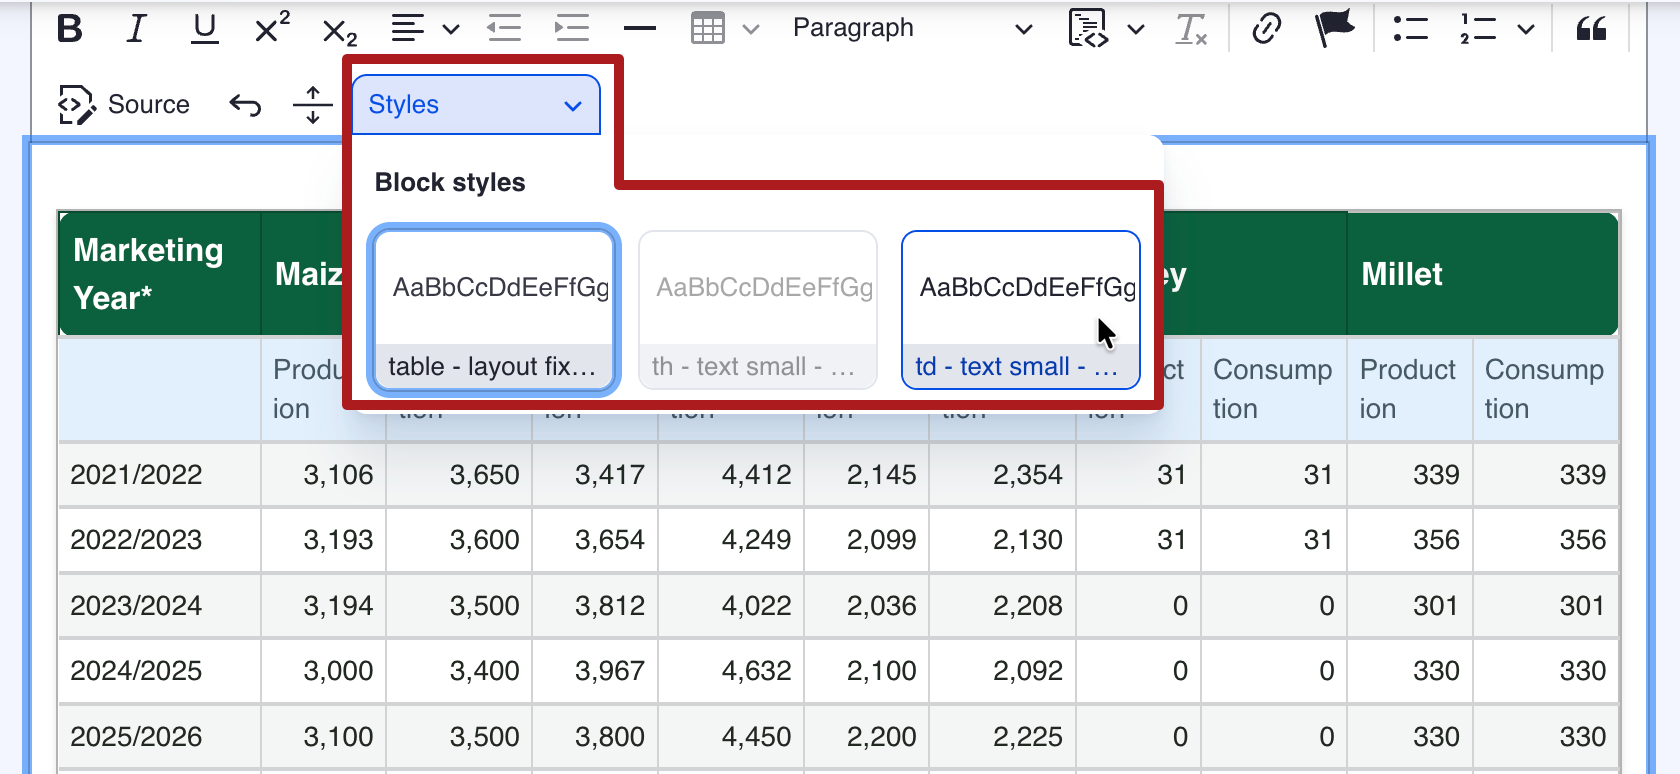
If a table is too wide for the PDF page and falls off the right side, you can adjust the table width by using the following Styles options from the toolbar:
-
Select td - text small to reduce the text size to 8px from the default 13px. For example, you can select a single row of text and reduce its size to improve the overall width of the table.
-
Select table - layout fixed to make all columns equal width to the available space.
These two options can also be used in combination. For example, you might select table - layout fixed and then reduce the size of a row of text that is excessively wrapped.
Previous: Add Section Title
Next: Add Report Image