To create and publish FEWS NET reports on http://www.fews.net, please follow the steps outlined on this and subsequent pages found in the left-hand menu.
Each page also has its own navigation menu on the right-hand side to help you navigate through each step of the report creation process.
Request support
Questions or issues about building and posting your report?
-
Food security analysts can contact the Hub through the DST CMS Support Chat.
-
Report posters can otherwise email Zoe Wingate, Allison Nederveld, and Tiffany Finstuen and someone will respond ASAP.
Log in to the CMS
-
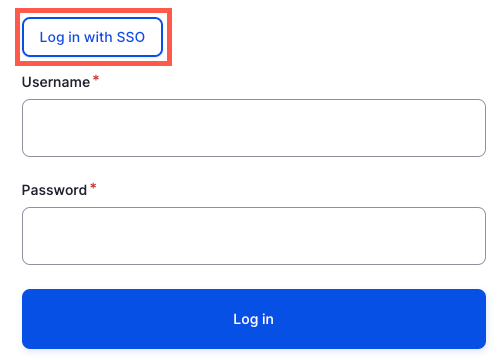
Select the Log in with SSO button
-
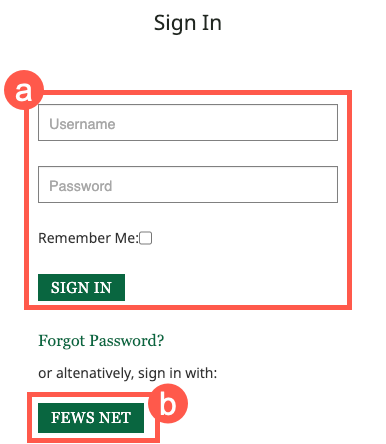
Log in using the following information:
-
Users with a non-fews.net email account:
Enter your FEWS NET Data Explorer (FDE) username and password. -
Users with a fews.net email account:
Click the FEWS NET button and follow the steps to log in via Google sign-in. -
If you cannot sign in, please email helpdesk@fews.net.
-


Accessing reports
To access and view your draft/published reports:
-
Click on Content in the top navigation bar.
-
Select the Reports tab.
-
Find the report in one of the following ways:
-
Type the title in the Title field.
-
Type your email address in the Authored by field.
-
Select the Report type and Primary region.
-
-
Click Filter.
-
Click on the name of the report to open it.
-
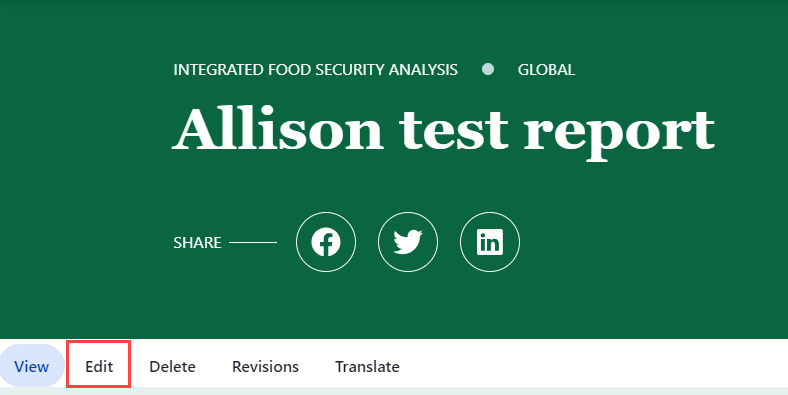
Once you have opened the report, click the Edit button on the report webpage.

Preparing report materials
Saving images
Now that we are building reports directly in the CMS, the way report images are saved is very important to ensure that these images appear clear on the report webpages. The CMS maintains the aspect ratio of static images and sets the width to 653 pixels. File images should be uploaded at a size that is at least 653 pixels wide.
Best practices for saving images
-
Always save final figure files as Portable Network Graphics (PNG). If you need guidance on how to do this, please let us know in the Teams Channel.
-
Save and use images as close to the original as possible. Saving images from a Word document that were originally created in another program will cause some loss of quality.
-
Follow figure file naming requirements (below), as applicable.
Adjust laptop application settings
-
Open a document in Microsoft Word, Excel, or PPT.
-
Click File > Options.
-
Click Advanced from the left-hand ribbon and scroll down until you find the Image Size and Quality settings section.
-
Change the following settings:
-
Image Size and Quality: Click the arrow button to the right to open up a drop-down menu and select All New Documents.
-
Discard editing data: Click box to toggle on blue checkmark.
-
Do not compress images in file: Click box to toggle blue checkmark.
-
Default resolution: Click the arrow button to the right to open up a drop-down menu and select High fidelity.
-
-
Click OK.
File naming conventions
Use the file naming conventions below to save images needed in the report. Using these conventions will allow you and others to easily find them in the Media Library.
Seasonal Calendars
Seasonal-Calendar-[two-letter country code or regional abbreviation]-[calendar start month]
Example: Seasonal-Calendar-GT-February
AOC Maps
AOC-[two-letter country code or regional abbreviation]-[LHZ#]
Example: AOC-ET-LHZ15
Other Files (Recommended)
[Two-letter country code or regional abbreviation]-[Report type]-[Month report is published]-[Year report is published]-Figure[Figure number]
Examples: SD-Alert-May-2023-Figure1, NG-FSOU-April-2023-Figure2
Opening your report in Word
Have your report open in the Microsoft Word Desktop Application. Do not work in your report from SharePoint in your browser. Working in a report from a browser will not show your endnotes and will complicate copying/pasting text and tables into the CMS.
If your report is open in the SharePoint browser, you can easily open it in the Microsoft Word Desktop App. Any changes you make to the file in the Desktop App will automatically save in SharePoint.
-
Click the blue Share button on the top right of the page.
-
Select Open in Desktop App from the drop-down menu (see screenshot).
Next: Create a New Report
