What to expect
The autogenerated PDF is refreshed each time a report is saved. The PDF is then cached and does not change unless the report is edited and saved again.
It is helpful to preview the PDF after adding a few images and/or visualizations so you can adjust the layout as you go.
To preview your PDF, click Save and Preview, then use the Download the Report button on the report webpage.
Always review the PDF and confirm the static images of the AFIC map visualizations appear as expected when finalizing edits to a report.
Font size, image width, spacing, and other formatting elements are set to a specific standard in the auto-generated PDF and can not be changed. If you have adjusted any of these in your Word document, your PDF formatting will not match.
Common issues and solutions
Aside from the cases noted above, most formatting issues can be alleviated by slightly moving around text or figures, or inserting a page break. The examples below showcase some common issues and solutions.
If you run into a problem that seems like a bug, or need assistance with a particularly tough formatting issue, please email Zoe Wingate, Allison Nederveld, and Tiffany Finstuen and someone will respond ASAP.
Example 1: Table split between pages
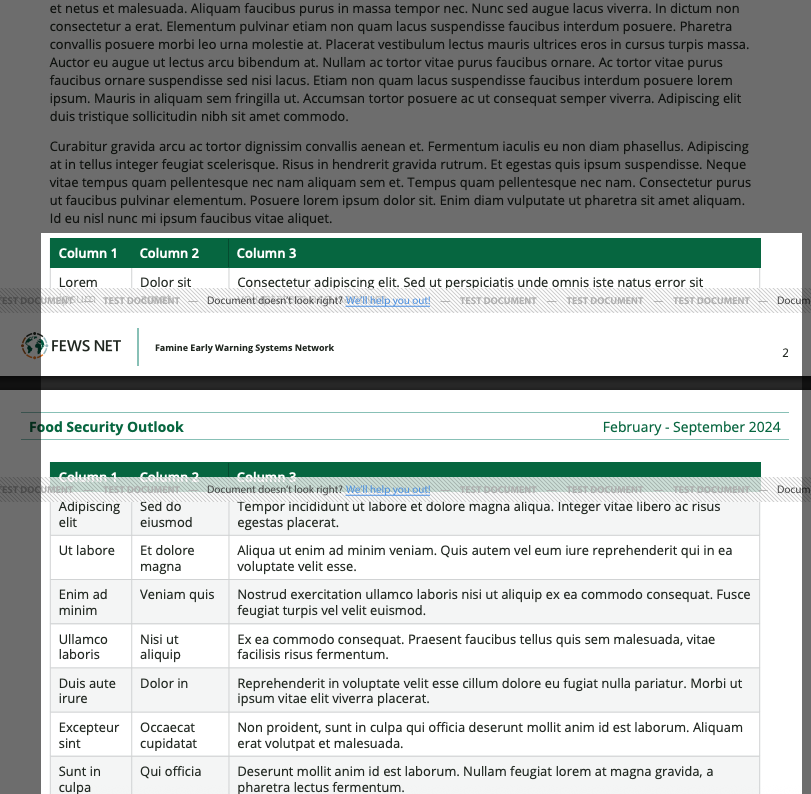
In this example, a table is split between two pages because the page break falls within the table.
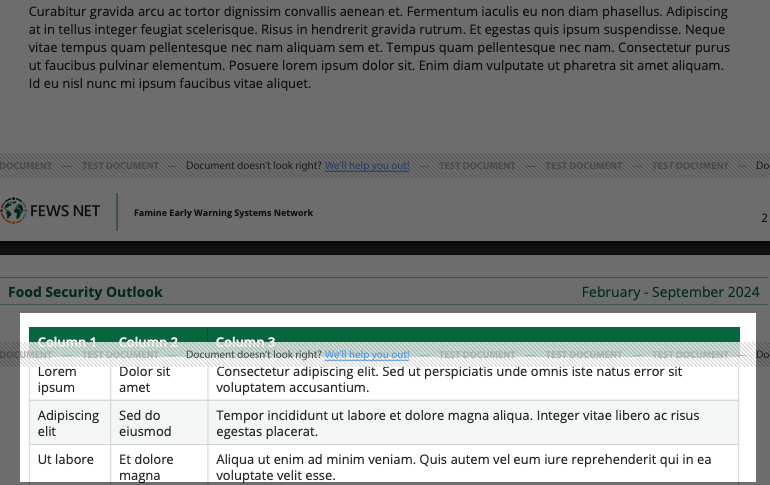
Since the table falls at the end of a page, we can insert a manual page break without creating excessive white space.
Follow these steps in the CMS to add a PDF Page Break content block:
-
Make sure the table is put at the beginning of a Section Content block. If the table was pasted in a Section Content block after other text, you can use the Split Paragraph option in the toolbar to separate them.
-
Place your cursor between the Section Content blocks and click the plus icon next to Automatic Citation. A popup window with all content block types will appear.
-
Select the PDF Page Break content block. It should be placed before the Section Content containing the table.
Example 2: White space next to a figure
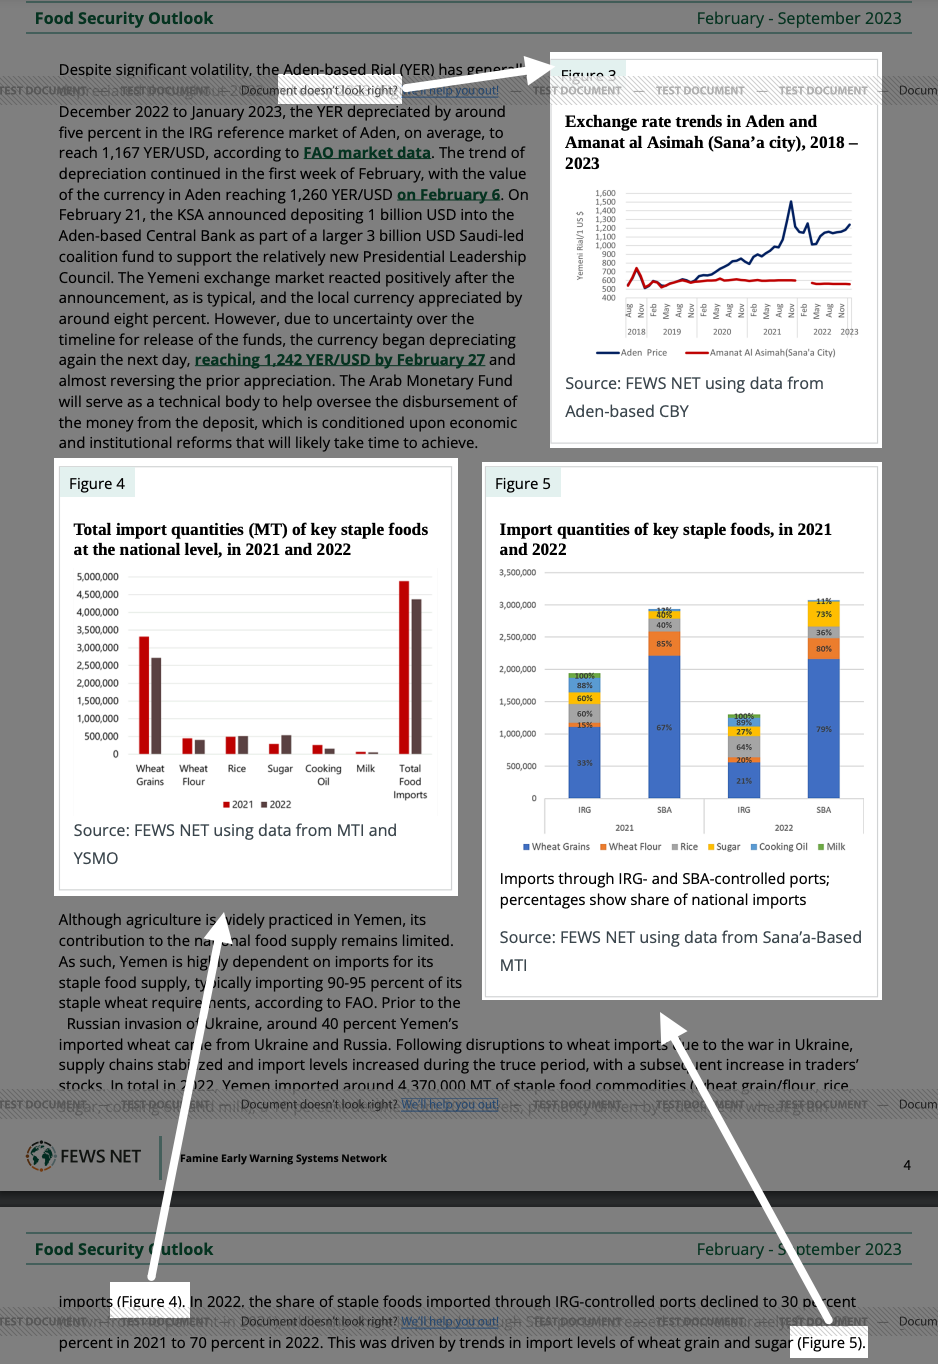
In this example, if you start to build the report so that each figure comes directly after the paragraph where it is referenced, you will get the PDF layout in the image to the right.
In the Content tab of the CMS, this looks like:
-
Previous section text
-
Paragraph referencing Figure 3
-
Figure 3
-
Paragraph referencing Figure 4 and 5
-
Figure 4
-
Figure 5
-
Remaining section text
Pros:
-
All figures are right aligned.
-
All figures are placed right after their reference paragraphs on the website.
Cons:
-
There is a large amount of white space on page 1.
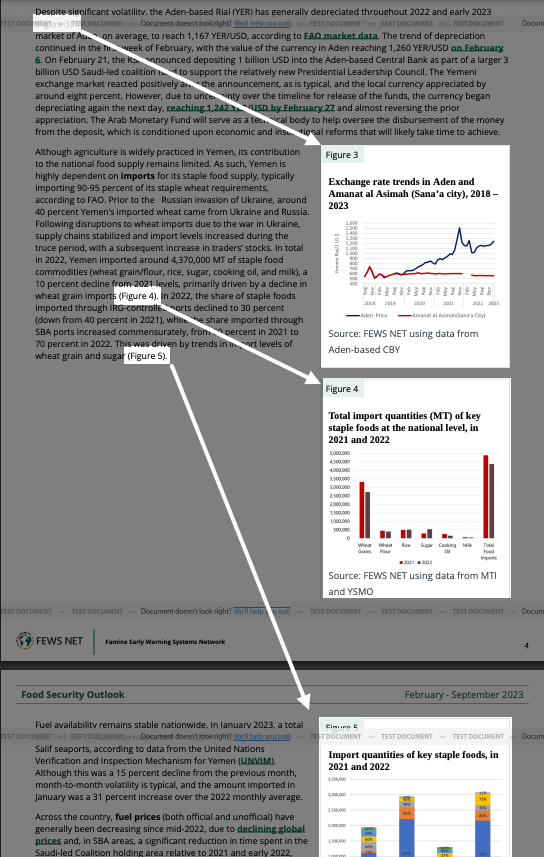
After looking at the PDF for the default build, you can consider rearranging content to reduce any excess white space. In this example, the white space is caused by the order of the content blocks.
Since Figure 5 does not fit on the first page of the example, a page break occurs between Figures 4 & 5. The page break blocks the Section Content after Figure 5 from floating up to fill the white space.
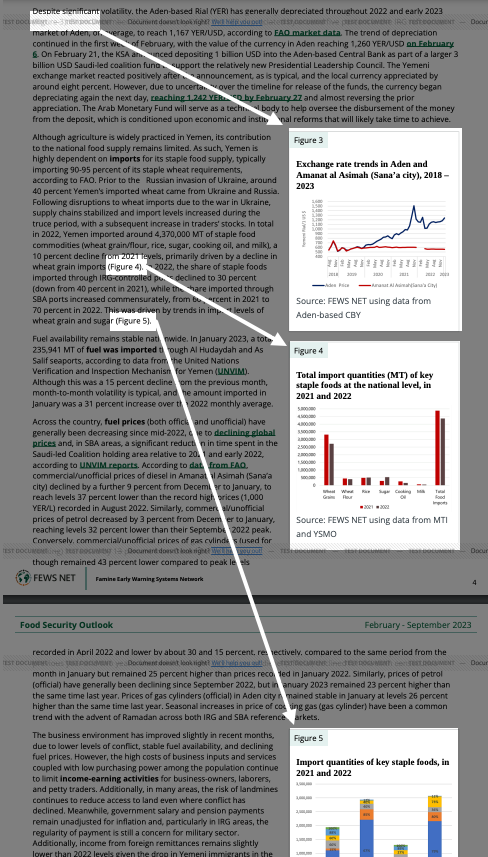
The best options to try here will be to:
-
Place text between Figures 4 and 5. Moving text before the page break will fill the white space.
-
Move the figures around so all of the figures fit on page 1.
Solution 1: Place text between figures 4 and 5
In the Content tab of the CMS, this looks like:
-
Previous section text
-
Paragraph referencing Figure 3
-
Figure 3
-
Paragraph referencing Figure 4 and 5
-
Figure 4
-
The next couple of paragraphs
-
Figure 5
-
Remaining section text
Pros:
-
There is no white space.
-
Figures 3 and 4 are placed right after their reference paragraphs on the website.
Cons:
-
On the web page, there are two paragraphs between Figure 5 and its reference.
Solution 2: Move all figures onto first page
To do this, put two of the images side by side. In this case you will also need to place each figure before its reference paragraph in order to make room for Figure 5 since it is taller than Figure 4.
In the Content tab of the CMS, this looks like:
-
Previous section text
-
Figure 3
-
Paragraph referencing Figure 3
-
Figure 4 (Float left)
-
Figure 5
-
Paragraph referencing Figure 4 and 5
-
Remaining section text
Pros:
-
There is no white space.
-
All figures are placed next to the paragraph where they are mentioned in both the website and PDF.
Cons:
-
All three figures come before they are referenced in the web page.
Example 3: Large white space due to table or full page image
In this example, if you start to build the report so that each figure comes directly after the paragraph where it is referenced, you will get the PDF layout in the image to the right.
In the Content tab of the CMS, this looks like:
-
Previous section text
-
Paragraph referencing Figure 1 and Table 1
-
Figure 1
-
Table 1
-
Remaining section text
Pros:
-
Figures and table are placed right after their reference paragraphs on the website.
Cons:
-
There is a large amount of white space on page 1.
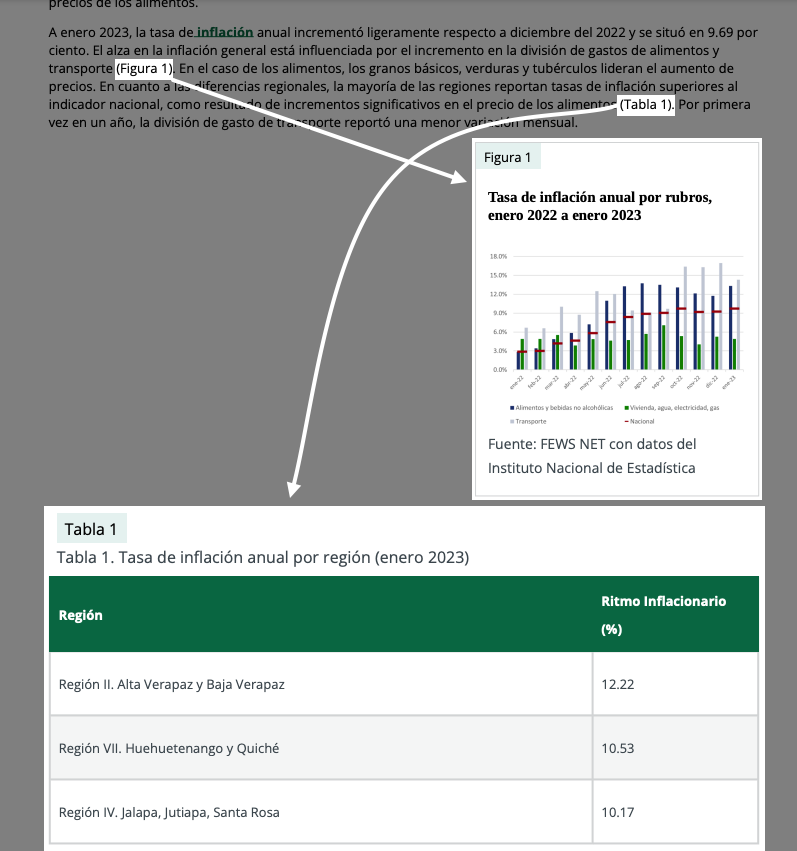
After looking at the PDF for the default build, you can consider rearranging content to reduce any excess white space. In this example, the white space is caused by the order of the content blocks.
Since Table 1 does not fit on the first page of the example, it moves on to another page.
The best options to try here will be to move text in between the figure and the table.
Solution: Place text between figure & table
In the Content tab of the CMS, this looks like:
-
Previous section text
-
Paragraph referencing Figure 1 and Table 1
-
Figure 1
-
The next couple of paragraphs
-
Table 1
-
Remaining section text
Pros:
-
White space is gone.
Cons:
-
Table 1 comes a few paragraphs after it is referenced in the text.

Example 4: Image is too small
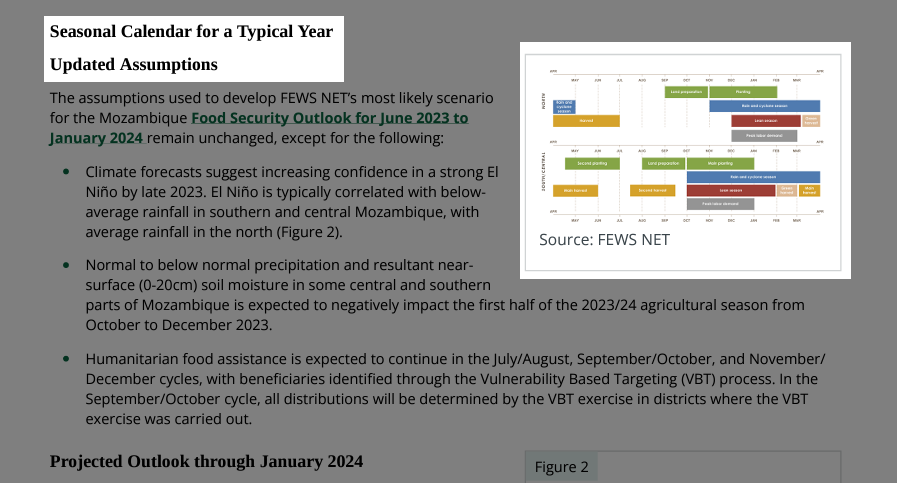
In this example, when viewing the PDF, the seasonal calendar is only half a page in width. This will not match the Word document, causes the seasonal calendar to be unreadable, and creates a situation where the seasonal calendar is separated from it’s section heading.
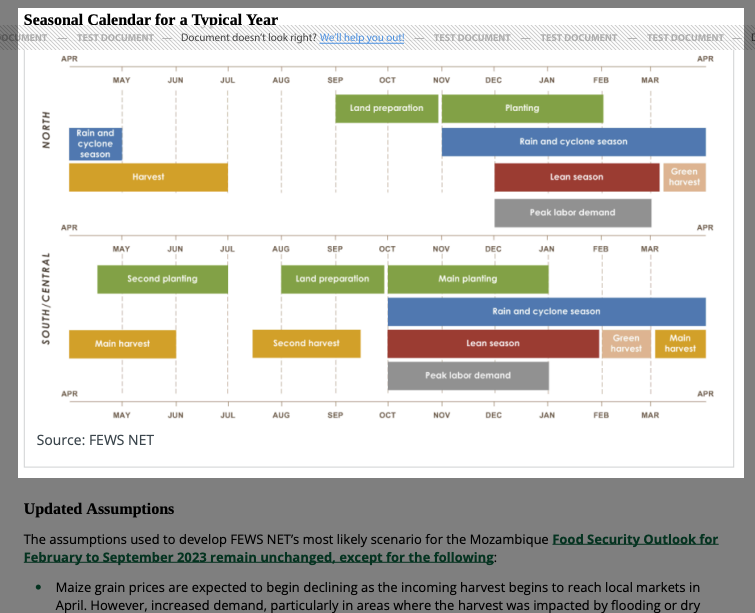
In this case, the solution is simple. You need to set the seasonal calendar image to be full width.

No other changes need to be made within the CMS.
The result brings the PDF closer in alignment with the Word document and ensures the image is legible.
Previous: Add Endnotes
Next: Review and Publish